
What You Need:
- A stack of old magazines. In seventh grade, I was a Teen Vogue hoarder so I had no problem finding these. Conveniently, they were already headed to the trash pile. You can also add other things: stickers, quotes, your own pictures... be creative. I sometimes use my old fashion day to day calendar to find little blurbs about my favorite designers.
- Duct Tape- or some other kind of heavy adhesive. In my case, I am using a brick wall so I needed VERY sticky tape. For a normal wall, probably a normal double sided roll would work.
- A piece of wall to work with. Make sure to have permission if you need it- and if you are working with a painted surface, as most walls are, I suggest using another form of adhesive, such as poster putty, in an effort to not peel the paint off of the wall.
- Scissors or a paper cutter.

1. Have a large variety of magazines to choose from. Variety is key!

2. Go through your magazines. Find things that don't have words or other pictures between them and things that are appealing to you. Also, if there's something that is particularly appealing to you, such as photography or makeup, that is photographed in the magazine, feel free to include that.

3. Grab your scissors! Cut out the pictures that you chose from each page. I like to make my cuts around the picture very sharp, but cut liberally. If you want a border around your person, go for it! After you have cut out the entirety of your collage, piece together the pictures in a collage format. Taking a picture of your draft is optional, but very helpful later in the process.

4. Add tape to the back of your cutouts. The bigger the picture, the more tape you should add. Make sure there is pleanty of tape so the piece won't fall down.

5. Next, tape up your pictures. This is where you can refer to the picture you took earlier. Tape the pictures on at weird angles and layer them. The things that are more unique, like some fun patches I came across, should be placed at the top of the layering of the collage.
The Finished Product!
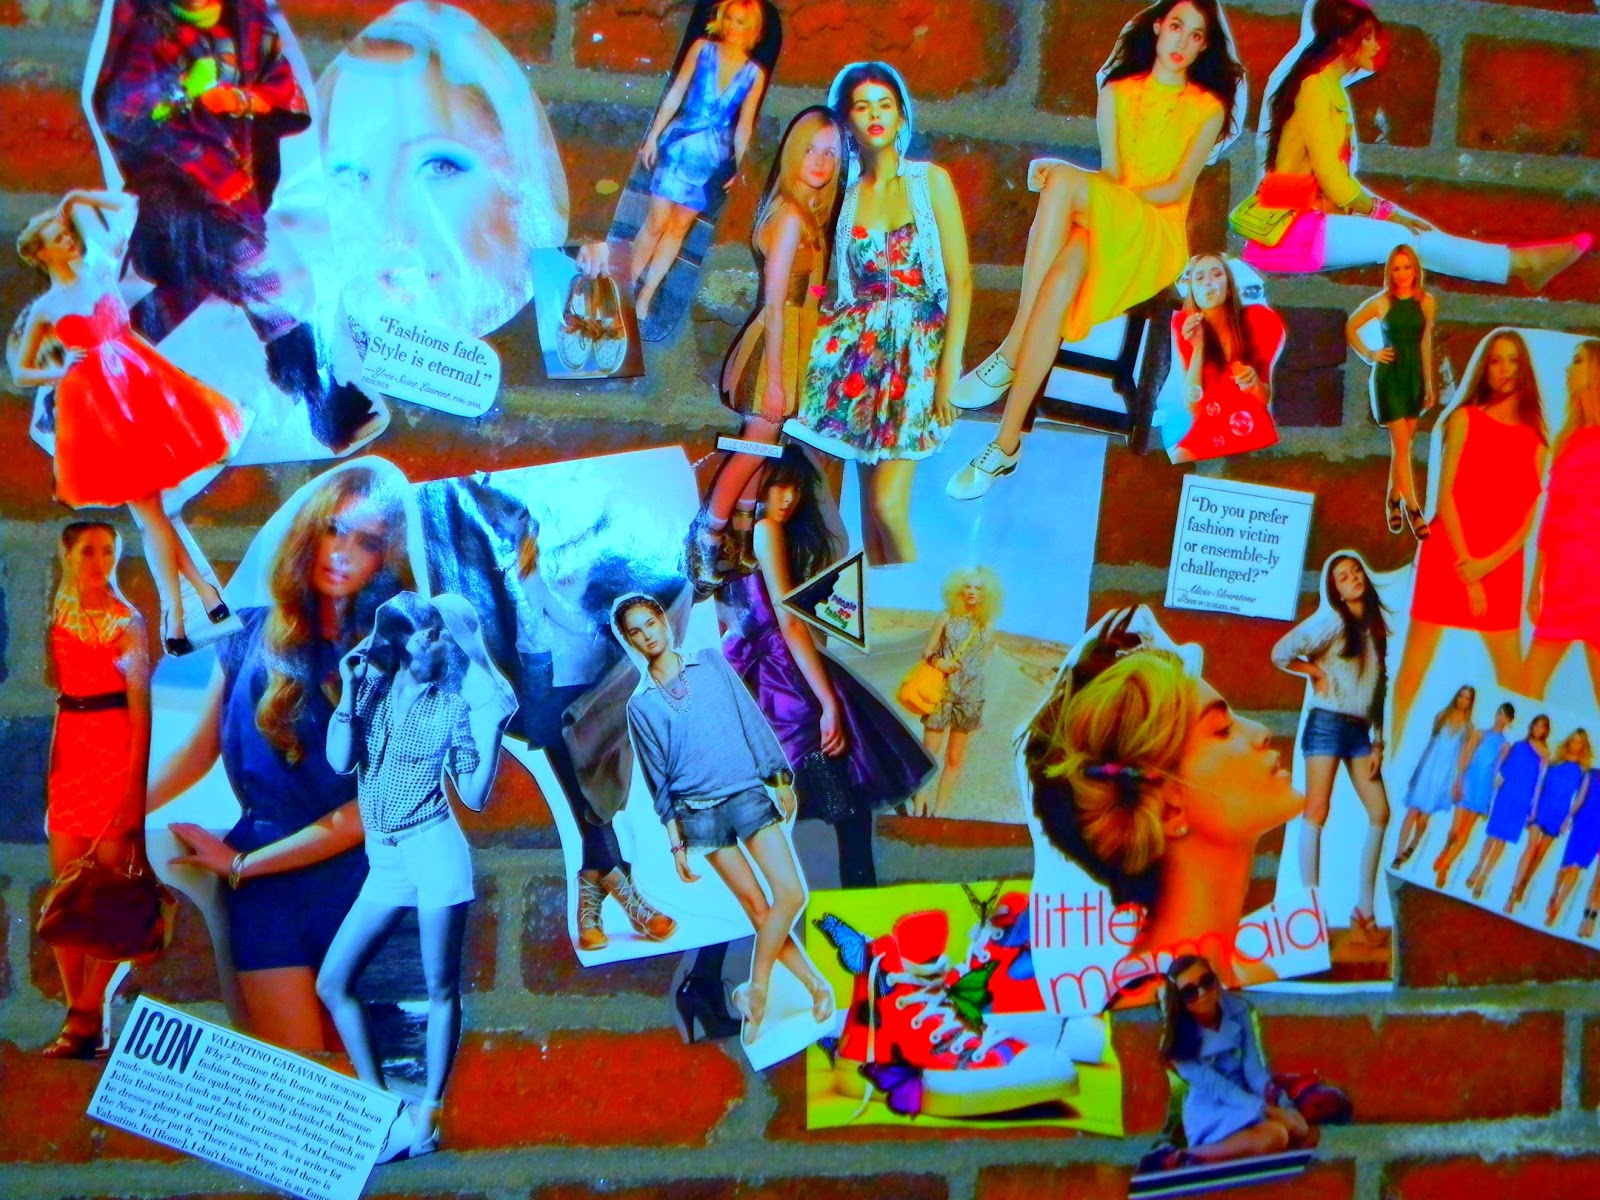
I love this. The color is wonderful, and it really adds you to the room. This would be great in places like your dormitory where you can't necessarily nail things to the walls but you want to add decorations to a bland part of your room.

Here's the side view.

Layering adds dimension to your collage.
I hope you enjoyed this DIY. It is a fun way to spend a quiet afternoon and always gets compliments. Enjoy and be sure to tell me what you think!
No comments:
Post a Comment
Thanks so much for commenting! Your comments make my day! ♥